Category: Webserver

  • Nextcloud accept larger upload filesize

    Nextcloud accept larger upload filesize

    By default, Nextcloud only accept small upload filesize.
    This is due the configuration of php.ini in Apache, and the settings in Nextcloud itself.

    By the way? Have you already update your php to version 7? Read here how to do this: Nextcloud update php5.6 to php7.0

    In this example we use a new maximum file size of 200 GB. We change the php.ini as follow:

    • Open php.ini by your favorite editor, for example ‘nano’.
      sudo nano /etc/php*/apache2/php.ini
    • Find upload_max_filesize and change it to 200 GB (along with post_max_size)
    • Save the file
    • Restart apache
      sudo service apache2 restart
    • Edit admin settings in NC to reflect php.ini
  • PfSense on Zotac Zbox CI327

    Some helpfull notes when installing pfSense on your Zotac Zbox CI327.

    Install from usb stick

    • Preparing the drive
    • Download pfsense image
    • Write image to drive

    Known problems you can run in to.

    CI327 has Realtek NIC’s. For the best performance, you need to tweak some settings in the Gui:

    system/advance/network…

    • CHECK Disable hardware checksum offload
    • CHECK Disable hardware TCP segmentation offload
    • CHECK Disable hardware large receive offload

    Hanging during boot time

    Boot hangs showing the following line:

    Timecounter “HPET” frequency 19200000 Hz quality 950

    You can solve this by disabling in Bios:
    /Features/CPU Configuration/Monitor M-Wait -> disabled


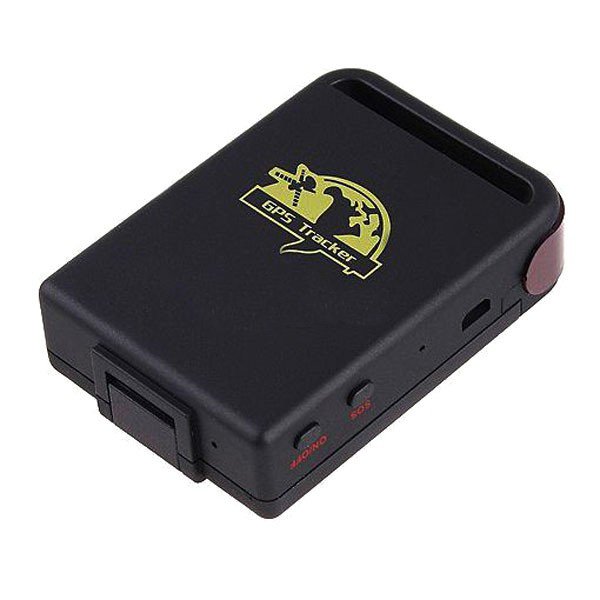
  • TK102 GPS tracker configuration

    TK102 GPS tracker configuration

    We are going to use a KPN prepaid SIM card. The pin code is removed using a cell phone and mobile internet is activated.

    We will transfer the data via GPRS connection to a GPS server called Traccar. The server is free downloadable for any platform.

    Make sure the battery of the GPS is well charged, insert the sim card and turn on the GPS.

    Follow the steps below to perform the basic configuration:

    (more…)

  • Redirect domain to directory in other domain.

    # Redirect all pages from olddomain.com
    # to newdomain.com

    Options +FollowSymLinks
    RewriteEngine on
    RewriteCond %{HTTP_HOST} ^www.olddomain.com$ [OR]
    RewriteCond %{HTTP_HOST} ^olddomain.com$
    RewriteRule ^(.*)$ http://www.newdomain.com/$1 [R=301,L]
  • Traccar in docker

    Run the following command:

    docker run -d --privileged -p 8082:8082 -p 5005:5013 -p 5055:5055 magnaz/traccar

    Webserver adres: 808
    RF-V16 tracker: Send by tracker on port 5013, received by Traccar on port 5005. (needed to use the right protocol)
    Traccar Android client: 5055

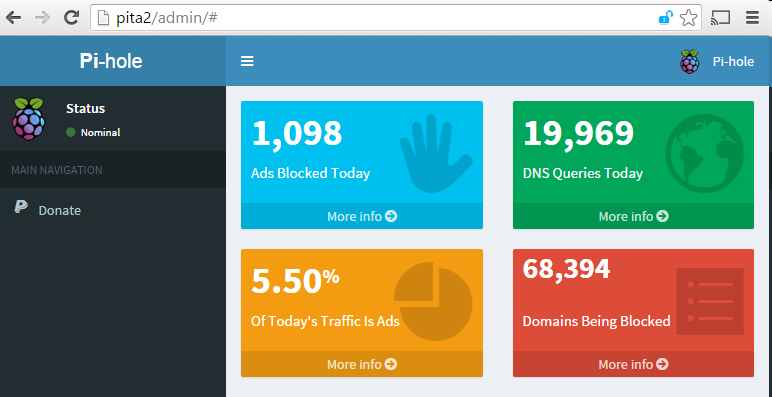
  • Pi-Hole DNS AdBlocker

    Pi-Hole DNS AdBlocker

    Install

    Run the following script:

    curl -sSL https://install.pi-hole.net | bash

    Update

    Just run the following script:

    pihole -up
  • Traccar installation on Raspberry Pi

    Traccar installation on Raspberry Pi

    Download and install Traccar

    Download Traccar

    wget https://github.com/tananaev/traccar/releases/download/v3.4/traccar-linux-arm-3.4.zip

    Unzip downloadfile

    unzip traccar-linux-arm-3.4.zip

    Remove zipfile

    rm traccar-linux-arm-3.4.zip

    Run install script

    sudo ./traccar.run

    Start Traccar Server

    sudo java -jar /opt/traccar/tracker-server.jar

    Optional configuration

    Make autostart on boot

    Start crontab

    crontab -e

    Add following line to the bottom of the file

    @reboot /usr/bin/nohup /usr/bin/java -jar /opt/traccar/tracker-server.jar

    Exit crontab and save file

    Reboot Raspberry Pi

    sudo reboot

    (Source: http://www.forum-raspberrypi.de/Thread-tutorial-tracking-server-mit-traccar)

    Use an external MySQL database like Synology

    By default Traccar Server uses embedded H2 database. If you want to use MySQL database engine you need to replace following lines in configuration file:

    <entry key='database.driver'>org.h2.Driver</entry>
    <entry key='database.url'>jdbc:h2:/home/user/Documents/traccar/target/database</entry>
    <entry key='database.user'>sa</entry>
    <entry key='database.password'></entry>

    Configuration parameters for MySQL (replace 127.0.0.1, [DATABASE], [USER], [PASSWORD] with appropriate values):

    <entry key='database.driver'>com.mysql.jdbc.Driver</entry> 
    <entry key='database.url'>jdbc:mysql://127.0.0.1:3306/[DATABASE]?allowMultiQueries=true&amp;autoReconnect=true&amp;useUnicode=yes&amp;characterEncoding=latin1&amp;sessionVariables=sql_mode=ANSI_QUOTES</entry>
    <entry key='database.user'>[USER]</entry> 
    <entry key='database.password'>[PASSWORD]</entry>

    NOTE: Traccar will create tables for you, but you need to create database with selected name by yourself.
    (source: https://www.traccar.org/mysql/

    Configuration of devices

    RF-V16

    Device transmits on port 5005. Traccar listens default to this protocol (H02) on port 5013. Make port forward in router 5005 → 5013 or swap port numbers in .xml configuration file.

    Known issues

    Using Synology MySQL database (update)

    = (UPDATE) PROBLEM SOLVED in version 3.4 = You can make version 3.3 work with the Synology MySQL database with a small modification. Change in the .XML configurationfile ‘UTF-8’ to ‘latin-1’. The developer know this problem and it will be solved in the near future.

    Version 3.2 works great without this specific modifcation

  • OpenVPN Client installation in Ubuntu

    Open the terminal.
    Update the software repositories and install the network manager.

    $ sudo apt-get update
    $ sudo apt-get install network-manager-openvpn

    Copy your VPN files  (*.ovpn and certificate files) to a known location on your computer.

    Open network connections.
    Edit connections
    Load configuration
    Select your  *.ovpn file.

  • Valuable linux commands

    Valuable linux commands

    docker volume ls -qf dangling=true | xargs -r docker volume rm
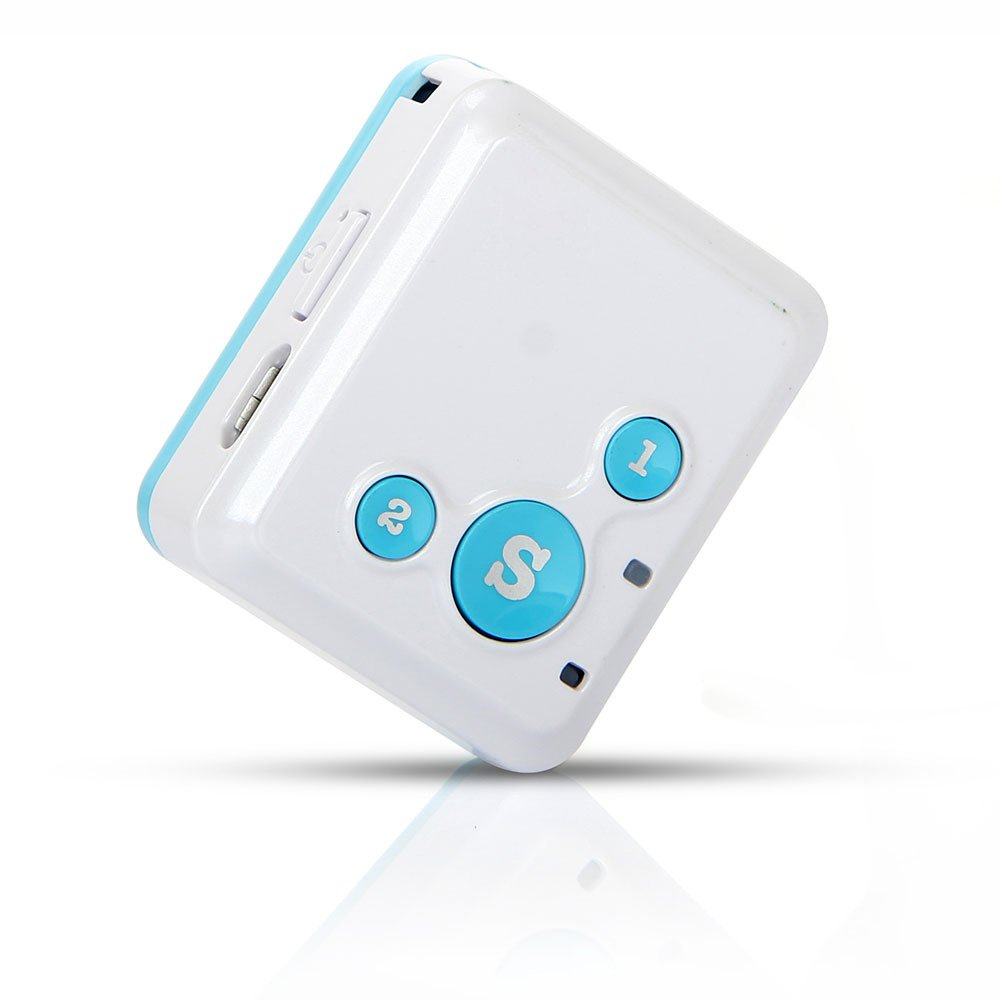
  • RF-V16 Config commands

    RF-V16 Config commands

    Set master phone number

    Password = 123456 (default)
    Phonenumber = +31619xxxxxx (fill in complete number)

    123456,sos1,0031619xxxxxx#

    Return message:

    0031619xxxxxx has been set for the master number sucessfully.

    Set APN settings

    for example Dutch provider Simyo.nl
    APN = portalmmm.nl
    Port = 5080
    User = empty
    Password = empty

    apn,portalmmm.nl,user,,pd,,pport,5080#

    Return message:

    Apn set succesfully! Reboot system now ...

    Optional commands

    lag,1# — Change the language to 1=Chinese (default), 2=English, 3=Russian dsp# — Device status and work situation
    gon# — Turn on the tracking function (factory default)
    goff# — Turn off the tracking function
    aj# — Set push to answer incoming call (fatory default)
    mt# — Auto-answer handsfree incoming call
    jy# — Silence monitoring
    dw# — Check position
    tim,10# — Setting interval of the position data upload (factory default is 10 mins)
    lon# — Turn on indicator light (factory default)
    loff# — Turn off indicator light
    dndoff# — Turn off DO NOT DISTURB in push-to-talk mode (factory default)
    dndon# — Turn on DO NOT DISTURB in push-to-talk mode

    See also:
    http://en.rf-gsm.com/uploads/soft/140407/RF-V16-Spec.pdf

    Direct mirror