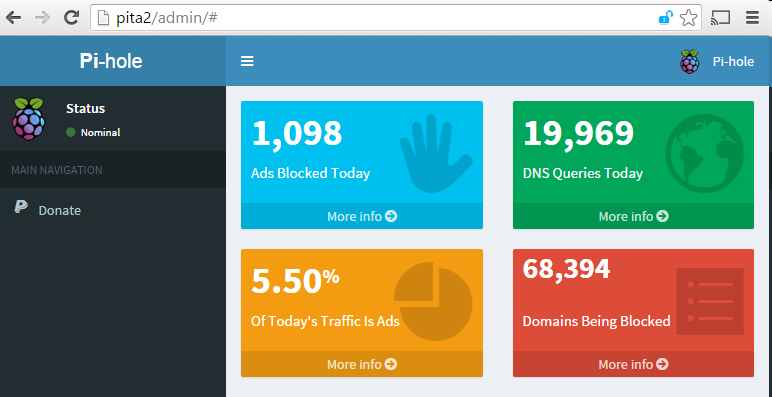
Install
Run the following script:
curl -sSL https://install.pi-hole.net | bash
Update
Just run the following script:
pihole -up

Run the following script:
curl -sSL https://install.pi-hole.net | bash
Just run the following script:
pihole -up

Download Traccar
wget https://github.com/tananaev/traccar/releases/download/v3.4/traccar-linux-arm-3.4.zip
Unzip downloadfile
unzip traccar-linux-arm-3.4.zip
Remove zipfile
rm traccar-linux-arm-3.4.zip
Run install script
sudo ./traccar.run
Start Traccar Server
sudo java -jar /opt/traccar/tracker-server.jar
Start crontab
crontab -e
Add following line to the bottom of the file
@reboot /usr/bin/nohup /usr/bin/java -jar /opt/traccar/tracker-server.jar
Exit crontab and save file
Reboot Raspberry Pi
sudo reboot
(Source: http://www.forum-raspberrypi.de/Thread-tutorial-tracking-server-mit-traccar)
By default Traccar Server uses embedded H2 database. If you want to use MySQL database engine you need to replace following lines in configuration file:
<entry key='database.driver'>org.h2.Driver</entry>
<entry key='database.url'>jdbc:h2:/home/user/Documents/traccar/target/database</entry>
<entry key='database.user'>sa</entry>
<entry key='database.password'></entry>
Configuration parameters for MySQL (replace 127.0.0.1, [DATABASE], [USER], [PASSWORD] with appropriate values):
<entry key='database.driver'>com.mysql.jdbc.Driver</entry> <entry key='database.url'>jdbc:mysql://127.0.0.1:3306/[DATABASE]?allowMultiQueries=true&autoReconnect=true&useUnicode=yes&characterEncoding=latin1&sessionVariables=sql_mode=ANSI_QUOTES</entry> <entry key='database.user'>[USER]</entry> <entry key='database.password'>[PASSWORD]</entry>
NOTE: Traccar will create tables for you, but you need to create database with selected name by yourself.
(source: https://www.traccar.org/mysql/
Device transmits on port 5005. Traccar listens default to this protocol (H02) on port 5013. Make port forward in router 5005 → 5013 or swap port numbers in .xml configuration file.
= (UPDATE) PROBLEM SOLVED in version 3.4 = You can make version 3.3 work with the Synology MySQL database with a small modification. Change in the .XML configurationfile ‘UTF-8’ to ‘latin-1’. The developer know this problem and it will be solved in the near future.
Version 3.2 works great without this specific modifcation
With help from this manual you can make your own APRS Igate with a Raspberry Pi and RTL-SDR dongle.
If you find any incorrect information or you have additional info, please leave a comment!
Offcourse change some of the commands to your personal settings like Callsign, gain, correction factor etc.
Install Raspian operation system to your Raspberry Pi. See: Installation manual
My advice is to let the system boot to termial in stead of the graphical user interface (GUI). This will keep as much as possibile processor power and memory free.
sudo apt-get update
sudo apt-get upgrade
sudo apt-get dist-upgrade
sudo raspi-config
mkdir ~/src
sudo nano /etc/modprobe.d/raspi-blacklist.conf
Add the next lines to the file:
blacklist dvb_usb_rtl28xxu
blacklist dvb_usb_v2
blacklist rtl_2830
blacklist rtl_2832
blacklist r820t
sudo reboot
cd ~/src
sudo apt-get install git build-essential cmake libusb-1.0-0-dev
git clone git://git.osmocom.org/rtl-sdr.git
cd rtl-sdr
mkdir build
cd build
cmake ../ -DDETACH_KERNEL_DRIVER=ON -DINSTALL_UDEV_RULES=ON
make
sudo make install
sudo ldconfig
cd ~/src
sudo apt-get install qt4-qmake qt4-default libpulse-dev libx11-dev patch pulseaudio
git clone https://github.com/EliasOenal/multimonNG.git
cd multimonNG
mkdir build
cd build
qmake ../multimon-ng.pro
make
sudo make install
cd ~/src
sudo apt-get install libtool autoconf automake libfftw3-dev
git clone https://github.com/asdil12/kalibrate-rtl.git
cd kalibrate-rtl
git checkout arm_memory
./bootstrap
./configure
make
sudo make install
kal -s GSM900
kal -c 36
(Channel 36 was strongest at my place. You may find another channel to be stronger)
cd ~/src
sudo apt-get install python2.7 python-pkg-resources
git clone https://github.com/asdil12/pymultimonaprs.git
cd pymultimonaprs
sudo python2 setup.py install
sudo cp pymultimonaprs.init /etc/init.d/pymultimonaprs
sudo chmod +x /etc/init.d/pymultimonaprs
sudo update-rc.d pymultimonaprs defaults
(If you allready have a APRS password, you can use that offcourse.)
Change ‘CALLSIGN’ to your own callsign. Don´t add the SSID like CALLSIGN-10. That would give you another (wrong) key.
cd ~/src/pymultimonaprs
./keygen.py CALLSIGN
Key for CALLSIGN: 12345
sudo nano /etc/pymultimonaprs.json
Start system to test funtionallity. (Ctrl+C for stop)
rtl_fm -f 144800000 -s 22050 -p 18 -g 42.0 - | multimon-ng -a AFSK1200 -A -t raw -
The -p 18 is correction in PPM, -g 42.0 is one of the possible gain factors. You have to make a choice from the following supported values:
Supported gain values (29): 0.0 0.9 1.4 2.7 3.7 7.7 8.7 12.5 14.4 15.7 16.6 19.7 20.7 22.9 25.4 28.0 29.7 32.8 33.8 36.4 37.2 38.6 40.2 42.1 43.4 43.9 44.5 48.0 49.6
Start pymultimonaprs
sudo /etc/init.d/pymultimonaprs start
See which USB number the RTL-SDR dongle has:
lsusb
Check by USB number if the group by RTL-SDR device is ‘input’. ls –lR /dev/bus/usb
For example: If RTL-SDR device is in (group) Bus 001 and Device 004:
cd /dev/bus/usb/001
sudo chgrp input 004
Source: https://yd0nxx.wordpress.com/2013/04/30/aprs-igate-using-raspberry-pi-board/